I wish I could show more but I am unable to display projects that are not to market yet.
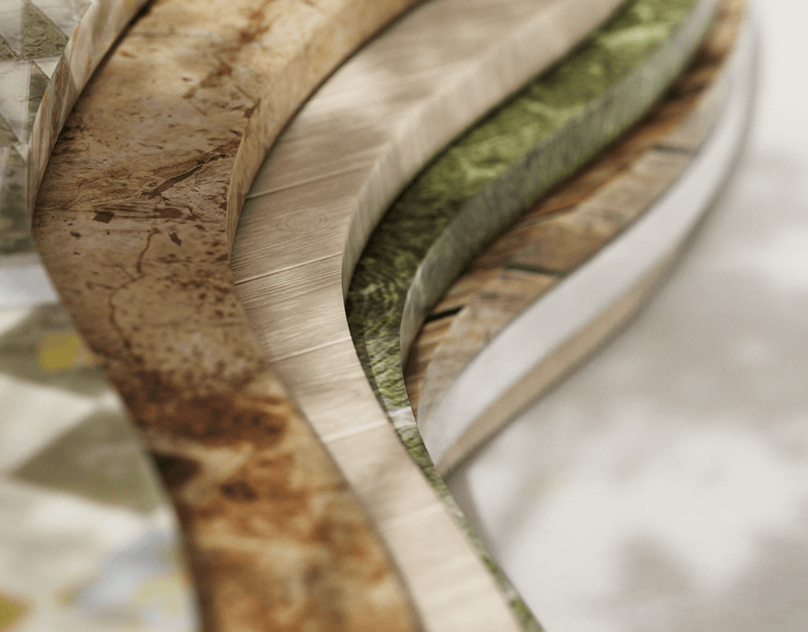
These are a small few of the procedural fabric textures I have created as well as an example model/mesh of a hat I built in Blender.
I look at 3D material creation in three phases. The base weave is phase one. I prefer to use a procedural approach when it comes to weaves but I have found that standing on the shoulders of giants saves a lot of time and resources. I will often use sites like VMOD for base materials. When doing a custom weave that is unique and not available I will use Substance Designer, Substance Sampler, Adobe Illustrator, and/or Adobe Photoshop to establish the core material.
Phase two is to create a lifelike material readily available in both *.sbsar and *.png/*.jpeg Image Textures to be used in a variety of 3D programs. I have found that some programs, such as CLO3D, work best with *.sbsar files. These programs do not offer advanced material/shader tools. The *.sbsar functionality gives some procedural control allowing a designer to tweak the fabric details within these programs. This is where Substance Designer shines.
A 3D program like Blender uses Image Textures so I find that image textures should be exported alongside *.sbsar as standard practice when designers are using different programs for different product groups. An example would be a women's bottoms designer using CLO3D needs to use the same fabric as an accessories designer who works in Blender.
Phase three is to build out program specific texture details. In Blender, for example, a mask can be created to apply seam wear details directly in the Blender workflow. This can be done in Substance Painter as well, and should be considered when creating mesh masks when a user is comfortable in the Painter environment. Advanced UV Map knowledge is required when using a workflow from Painter to a program like CLO3D.
Rendered in Blender 3.6